This tutorial will show you how to reschedule a booking through your own client portal. Remember that you are always welcome to call our office for anything that you might need as well. For any cancellations or rescheduling we ask that you notify us with at least 72 business hours so we can have time to fill the spot that you’ve taken. Any sooner than this, will result in a cancellation fee that’ll be applied to your account.
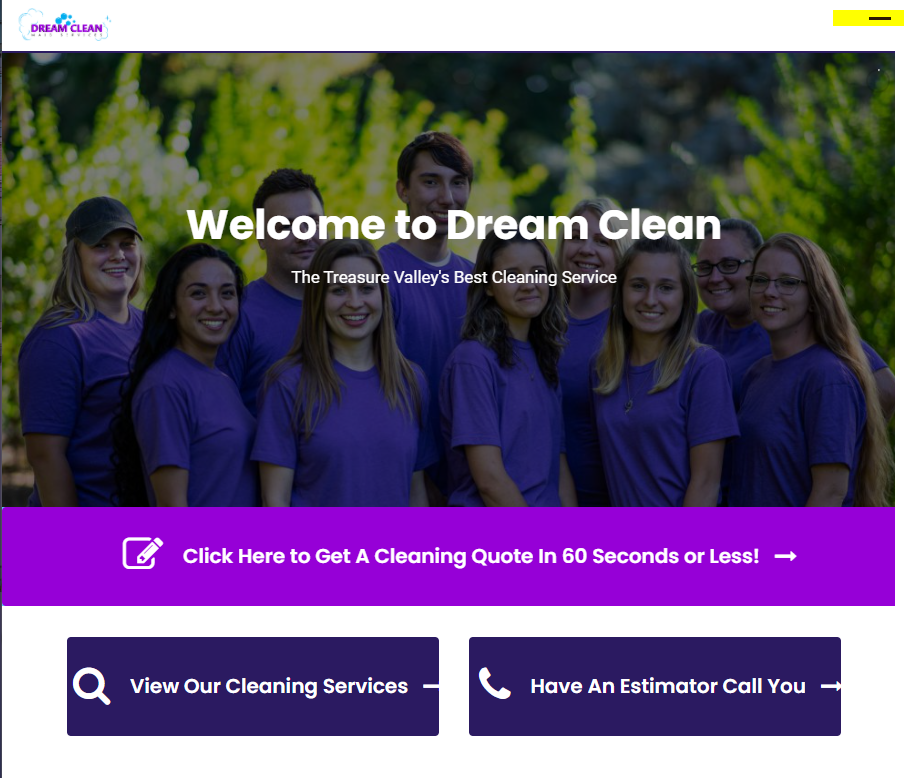
The first thing that you’d need to do would be to login to your client portal here:
You’ll want to click the hyphen icon that’s at the top right of our website, as seen in the highlighted field here:
It then drops down into an expanded menu with the login option at the bottom, as seen here:
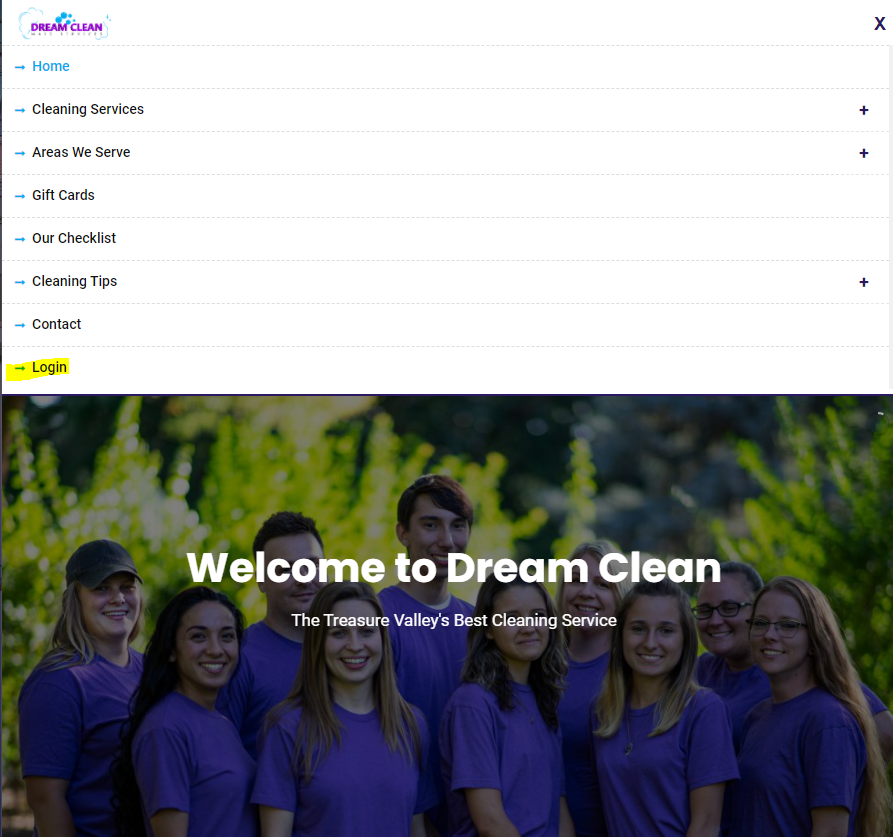
Once you select the login option you’ll be taken to this screen:

You’ll need to put in your credentials and then click the Sign In option to be taken to your portal. If you haven’t already created an account there’s a Registration Walkthrough Tutorial that you can look at.
If you have a cleaning scheduled you’ll see something that looks like this:
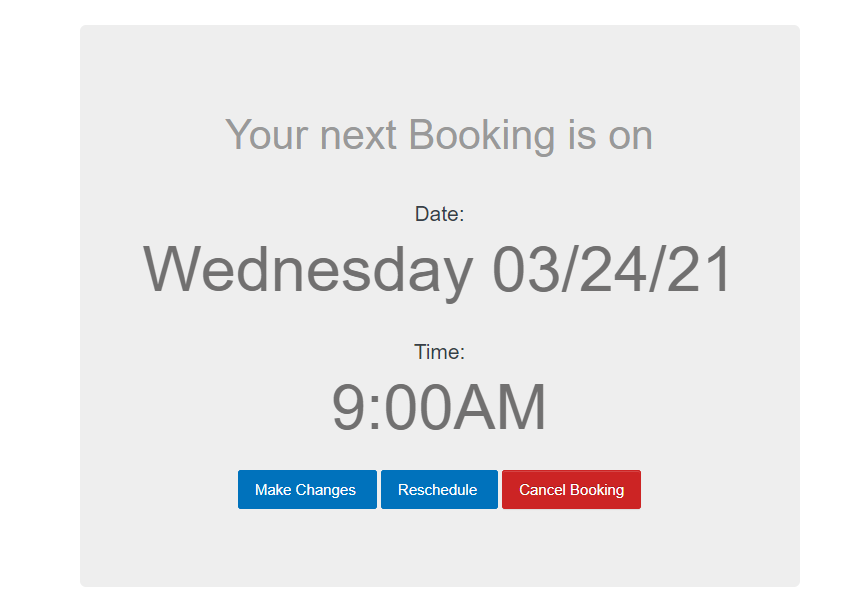
You’ll see that the middle blue option, Reschedule, is what we’re looking for in order to move our next cleaning. Once you click that button you’ll be taken to our normal booking form and it’s got all of your information preloaded and it’ll look something like this:

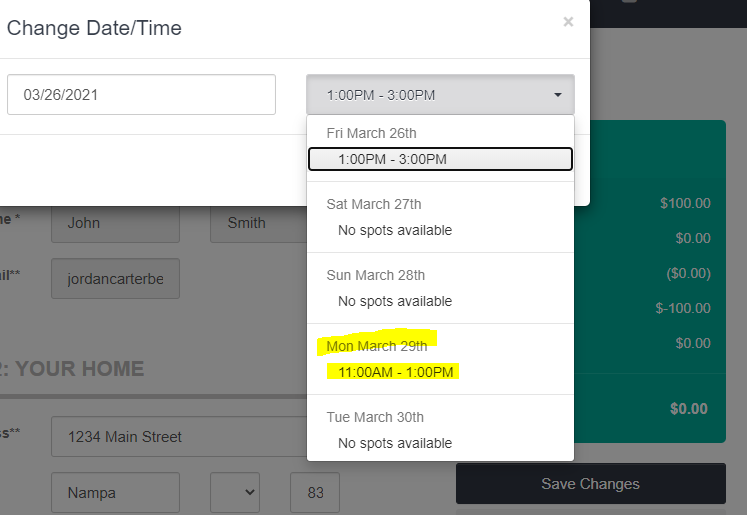
The section that you’re looking for is the highlighted one. Now, this is easy to miss as it looks greyed out, or as an unclickable link, but once you click on the actual date field [not the Date / Time *] field you’ll see a popup menu like this:
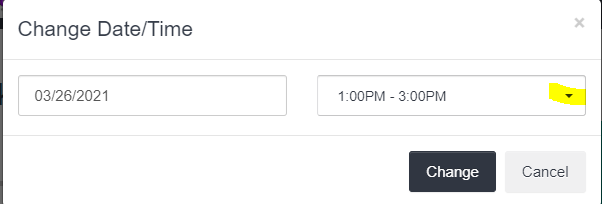
You’ll want to click the little highlighted arrow button and you’ll see a small popup window that shows you the next spots that are available for the next few days, as seen here:
If there is not a date available you’ll need to, instead, click on the Date field to select the next week in order to see the dates that are open, as seen here:
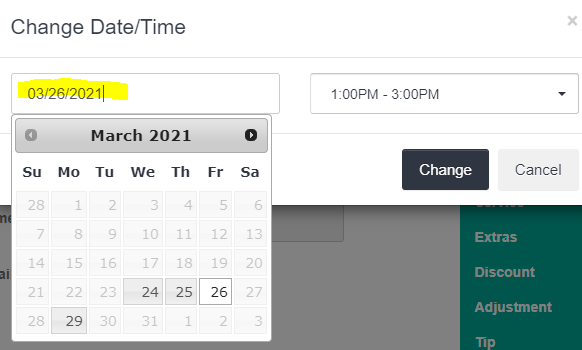
You’ll click the highlighted area and it’ll bring up that expanded menu for you to select the next week and the days that are not greyed out have some booking slots that are left, as seen here:
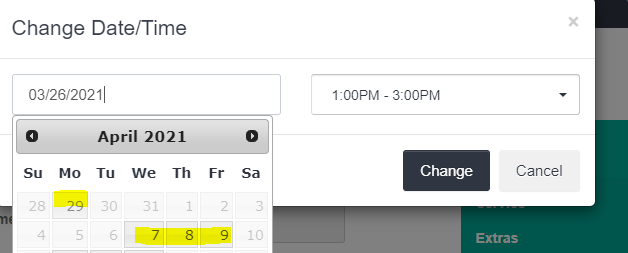
Once you find the spot that works for you you’ll need to hit the Change button to be taken to the next step.
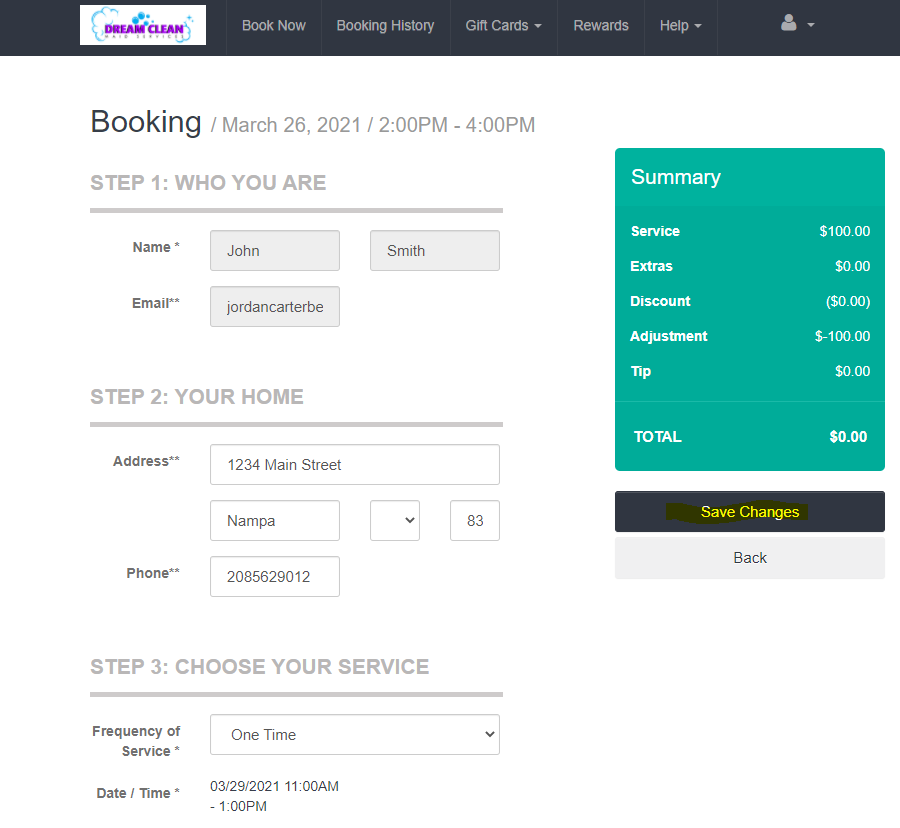
The popup Change Date/Time menu will go away and you’ll be taken to the booking form and you’ll see that the Date / Time* field reflects the new date that you want, as seen here:

If this is correct you’ll then want to hit the Save Changes button on the right side of your screen, as seen here:
Once you click that, you’ll be taken back to your client portal and it’ll have your next updated booking listed, it’ll look like this:

And that’s how you reschedule a booking for a One Time Cleaning.
If you have recurring cleanings everything will be the same except when you click the Save Changes button at the end. You’ll get a screen that looks like this:

Basically, this asks if you want your next scheduled cleaning to follow off the new date and time that you’ve selected or if you’d like it to maintain the schedule you had before. Usually, most people want to follow the same schedule because we’ve already worked you into that timeslot and we know it’s available for the next 4 cleanings.
If you pick the first option there could be a problem with the future cleanings, because the system only shows you what’s available for that day and not the future cleanings. So, we’d always suggest that you pick the second box to follow your normal schedule.
However, should you pick the first and if there’s a problem with the future cleaning someone from the office will give you a call. Or if you have any questions or concerns don’t hesitate to call us.